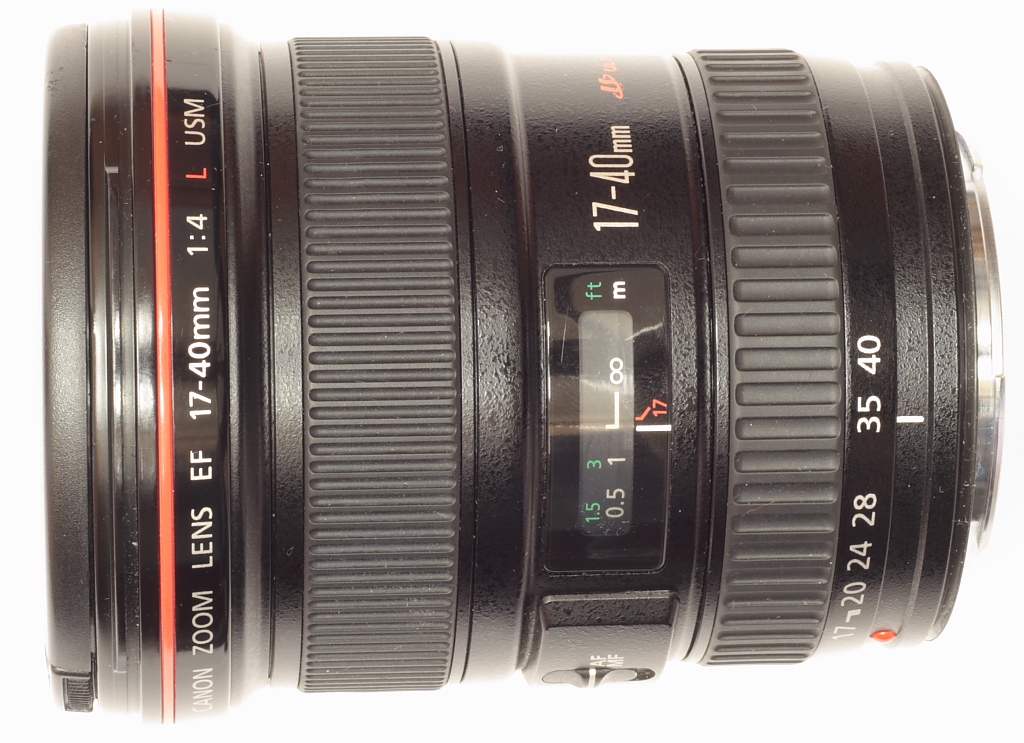
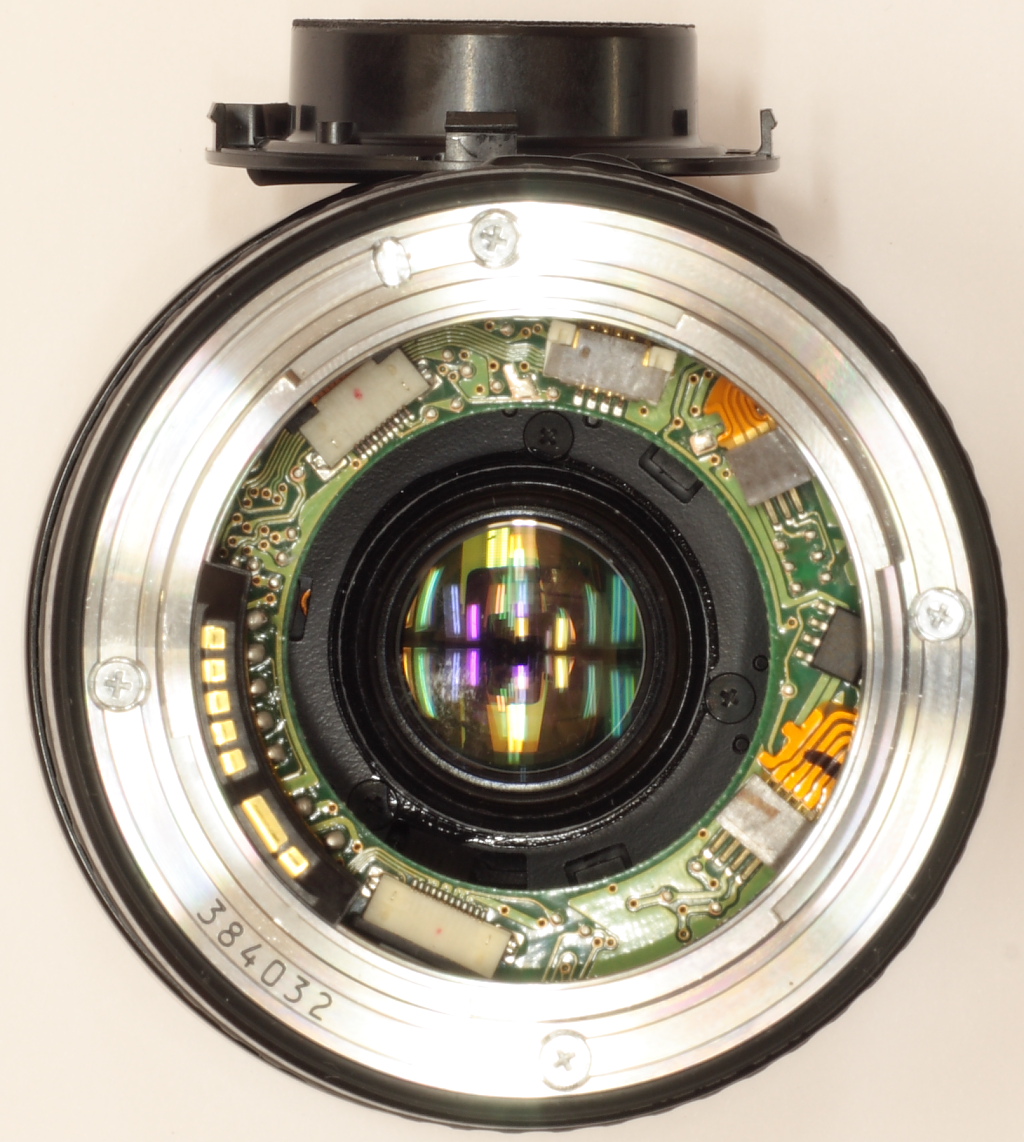
Canon EF17-40 before disassembly.
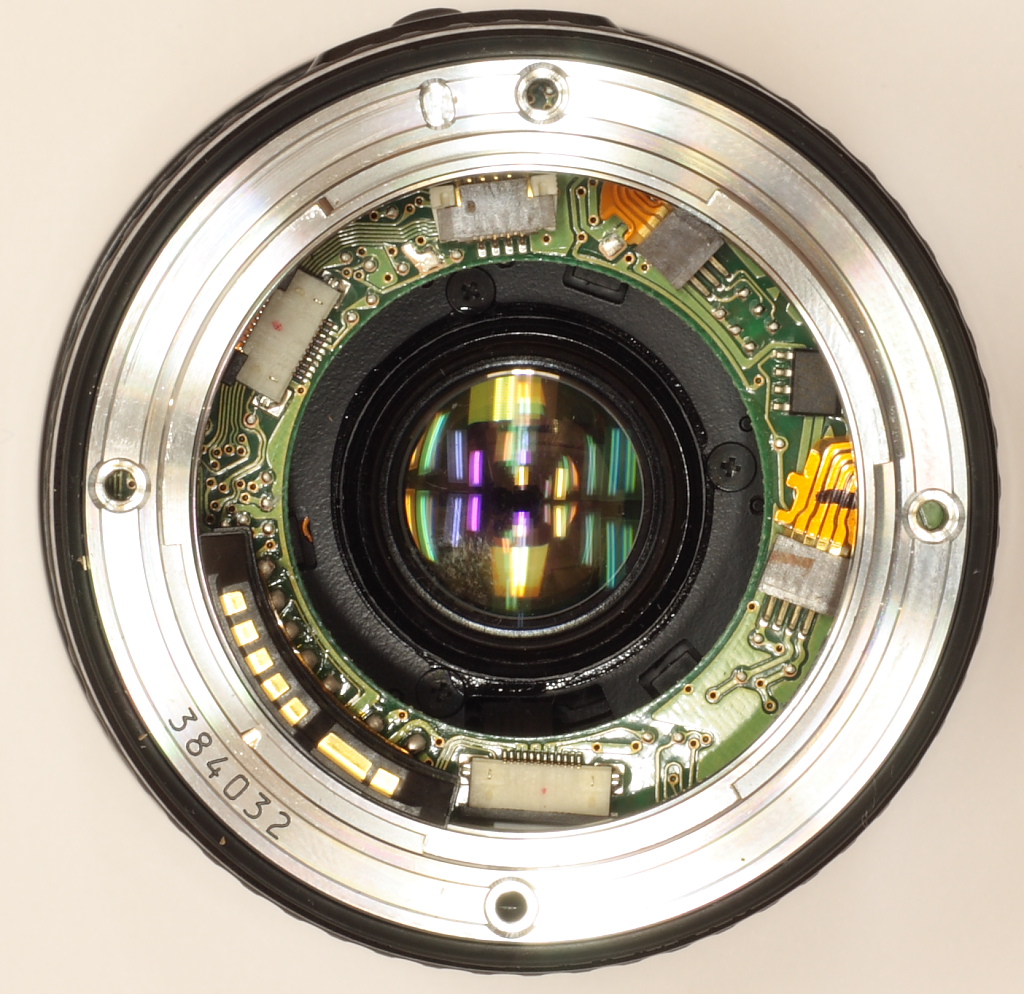
Remove the 3 black screws attaching the plastic cover inside the mount.
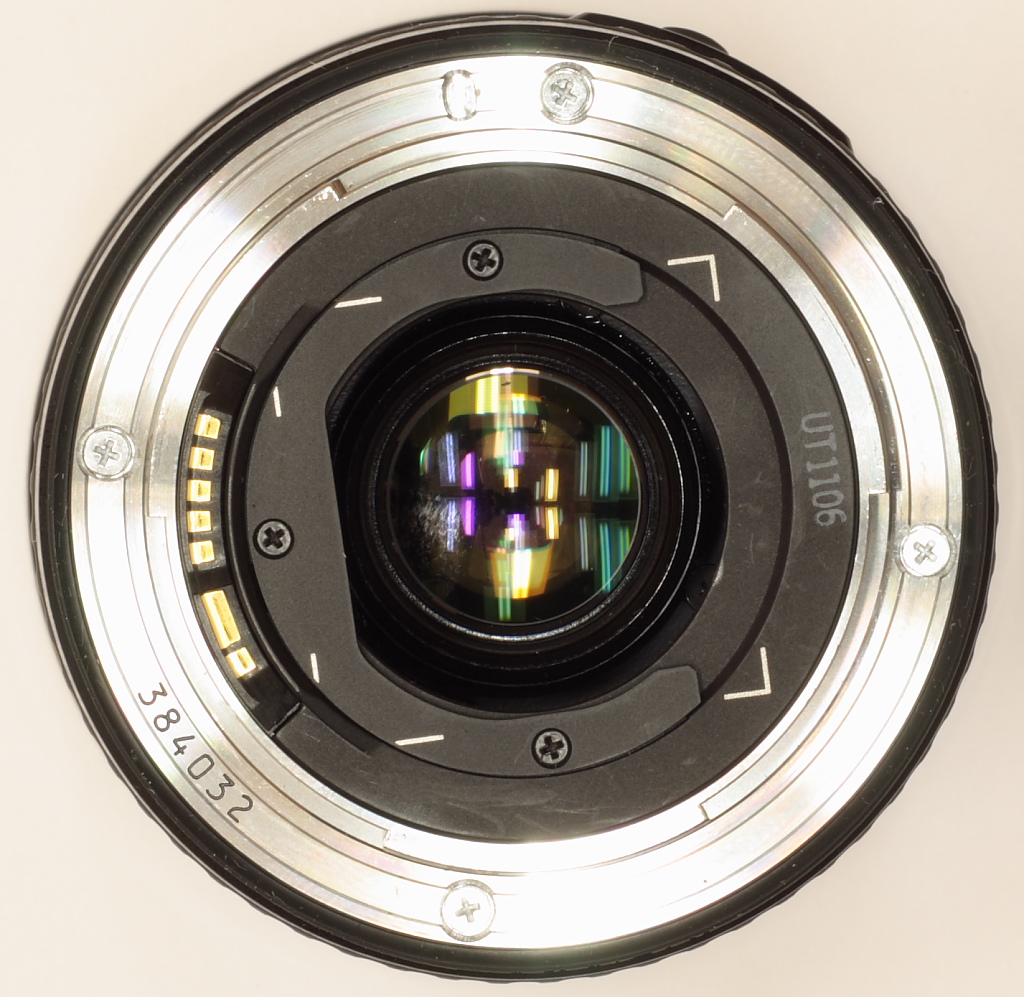
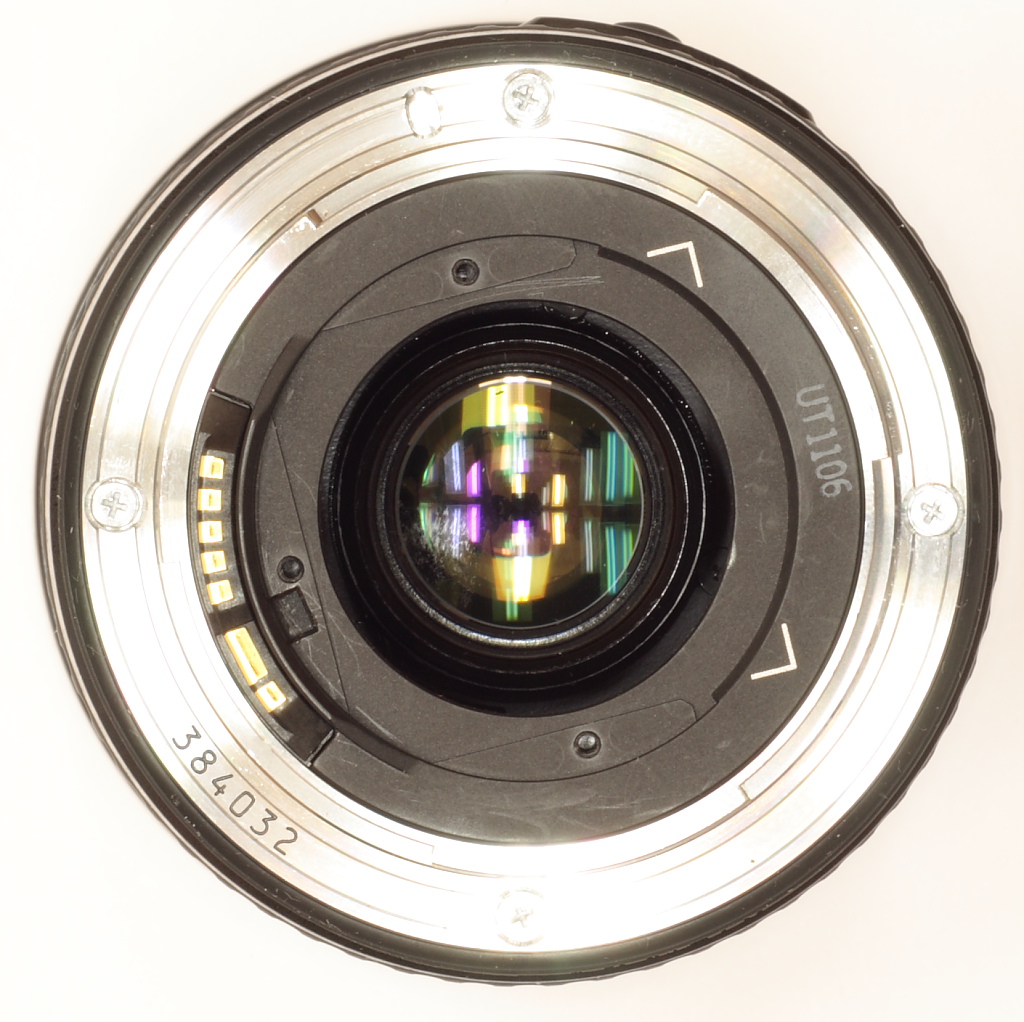
Now remove the plastic cover.
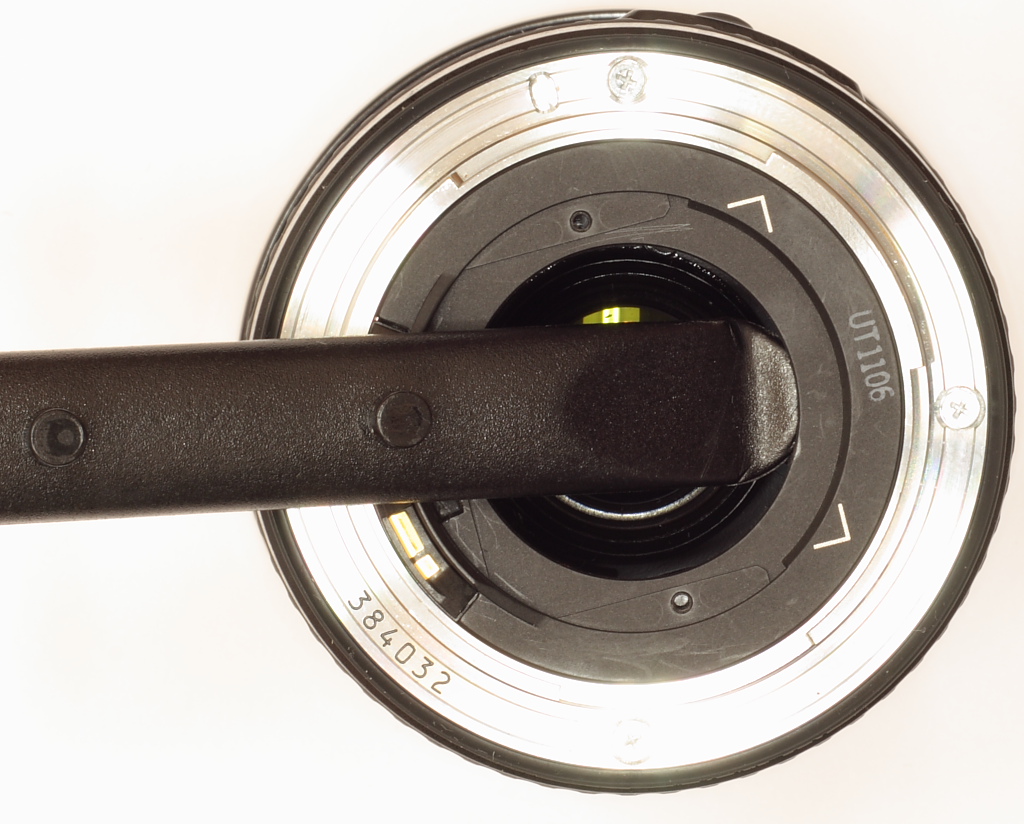
Pry out the inner plastic ring. A plastic bicycle tire tool is used in this
picture.
Here the tabs that hold the plastic ring in place are visible.
Next, detach the electrical contact block from the inner surface of the lens
mount by removing these two screws.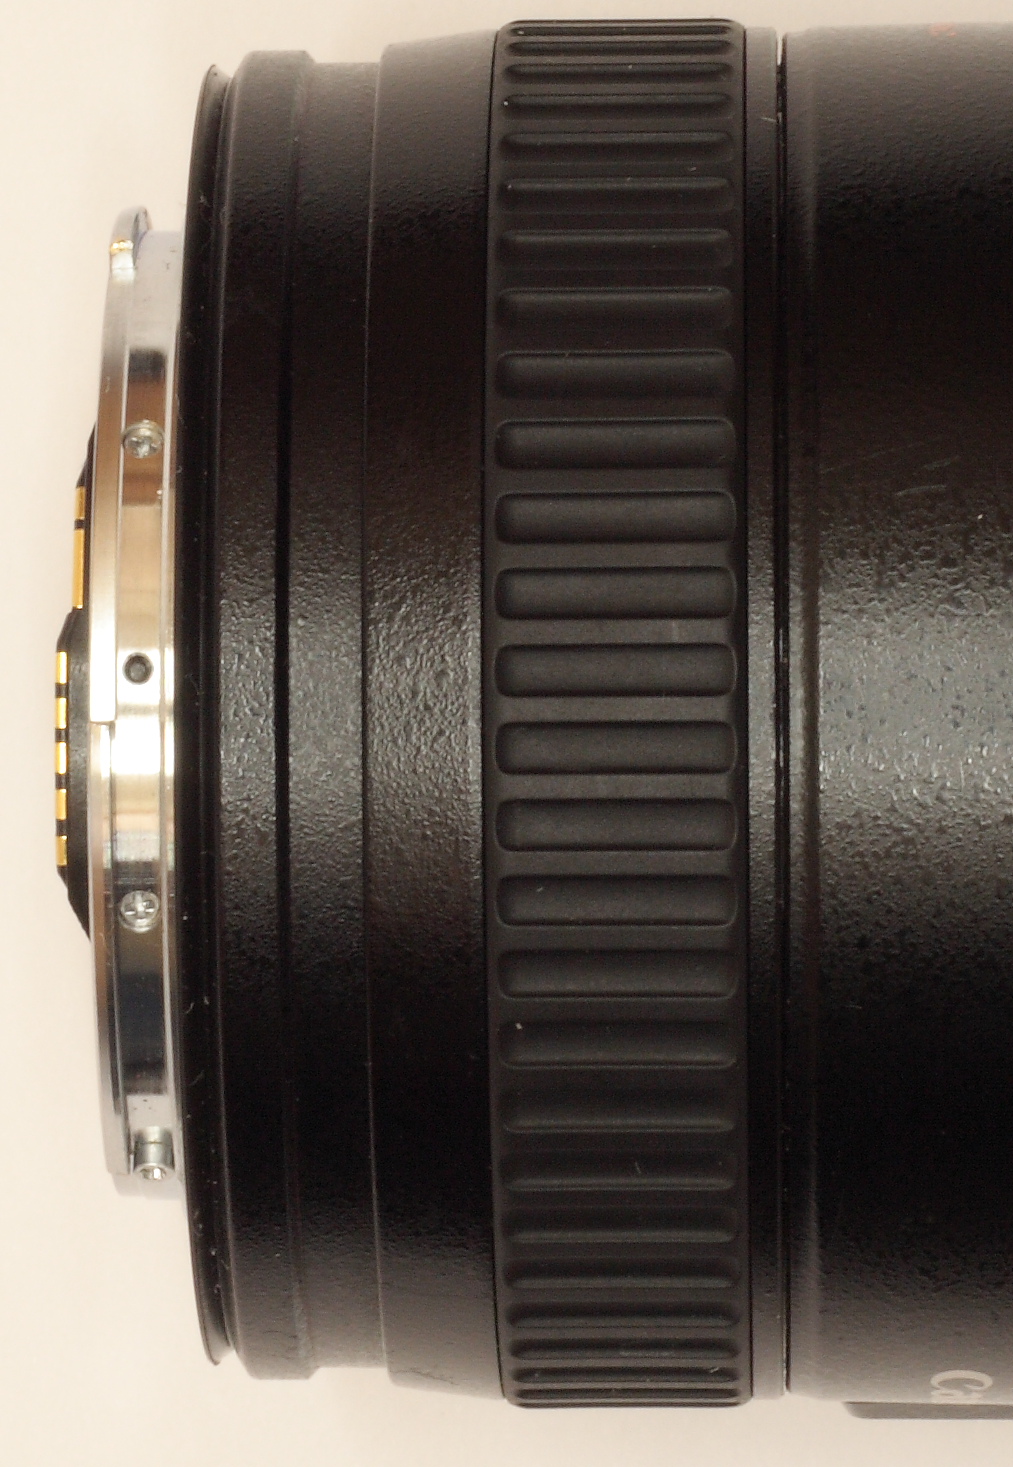
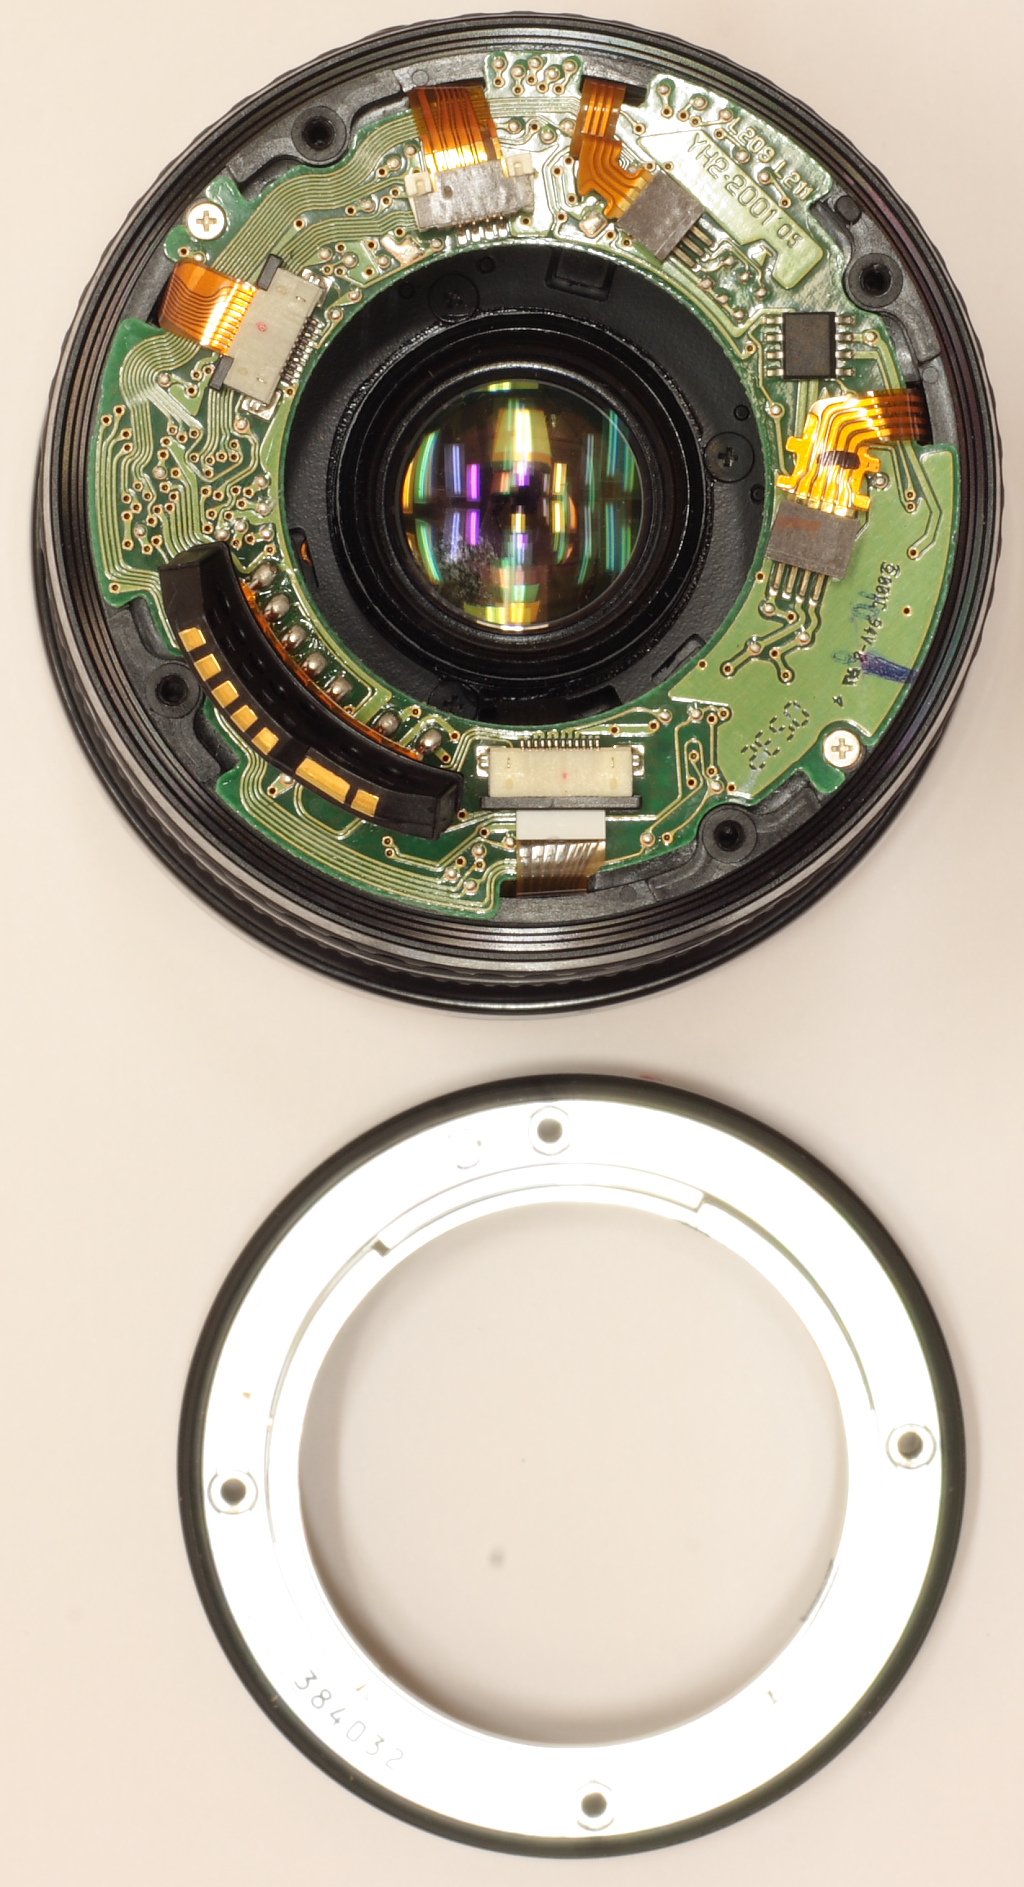
Remove 4 screws holding the lens mount (in this photo, the mount has rotated,
hiding the threads).
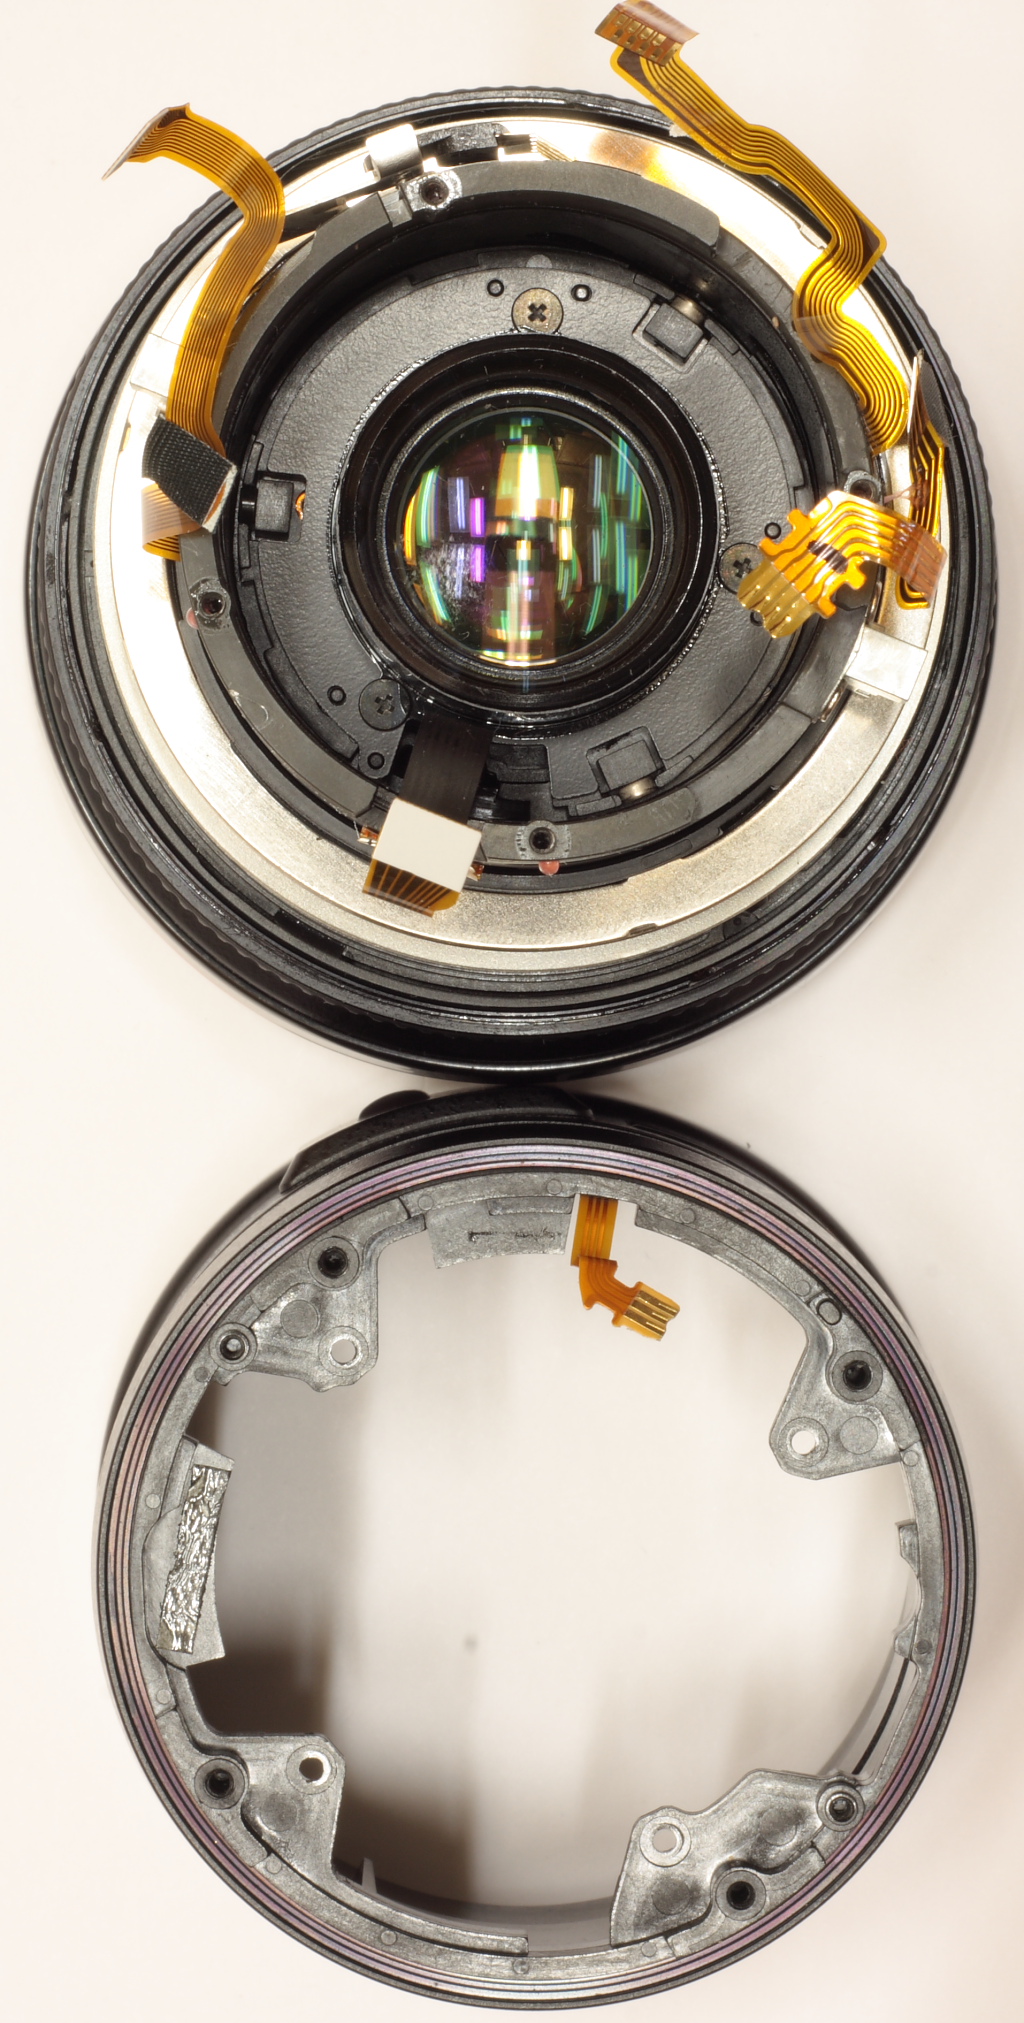
The lens mount lifts off.
Disconnect all 5 ribbon cables from the connector circuit board. Three have
plastic locks that first must be pulled back.
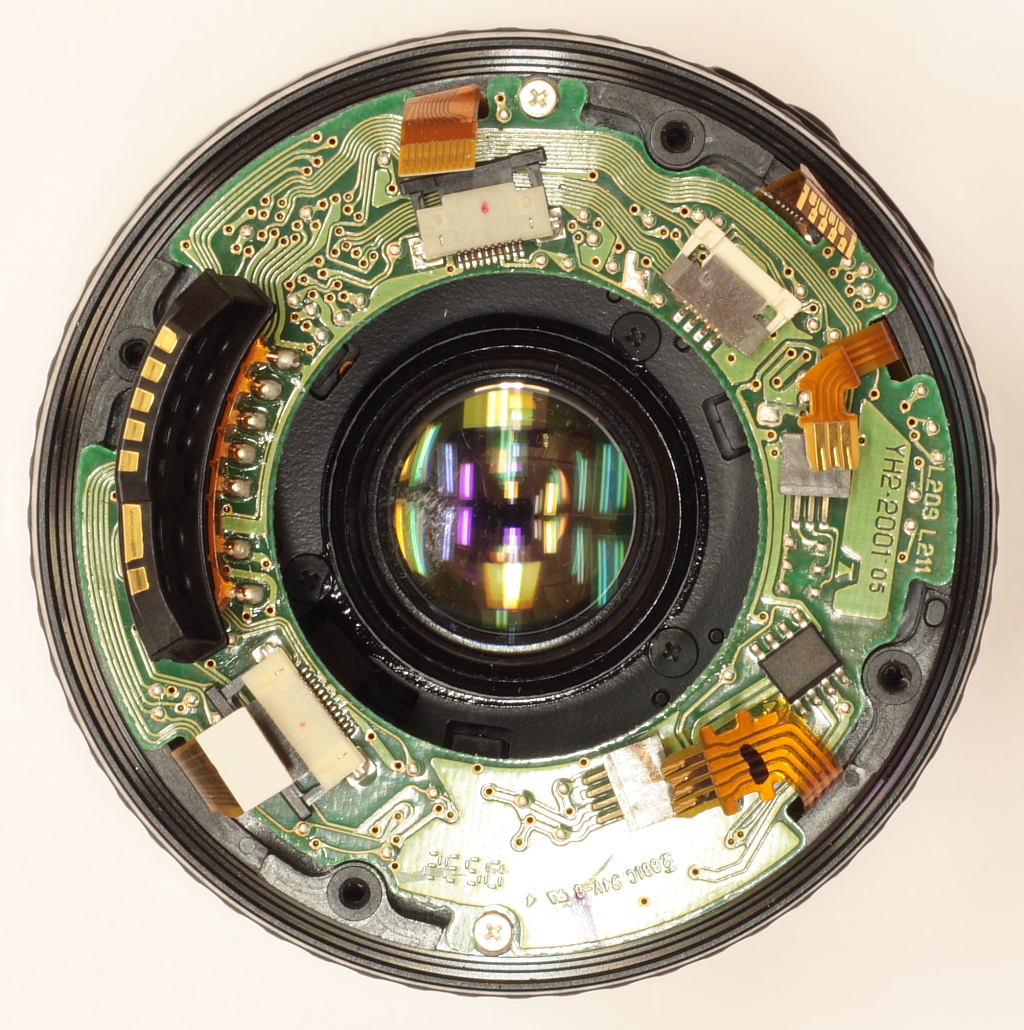
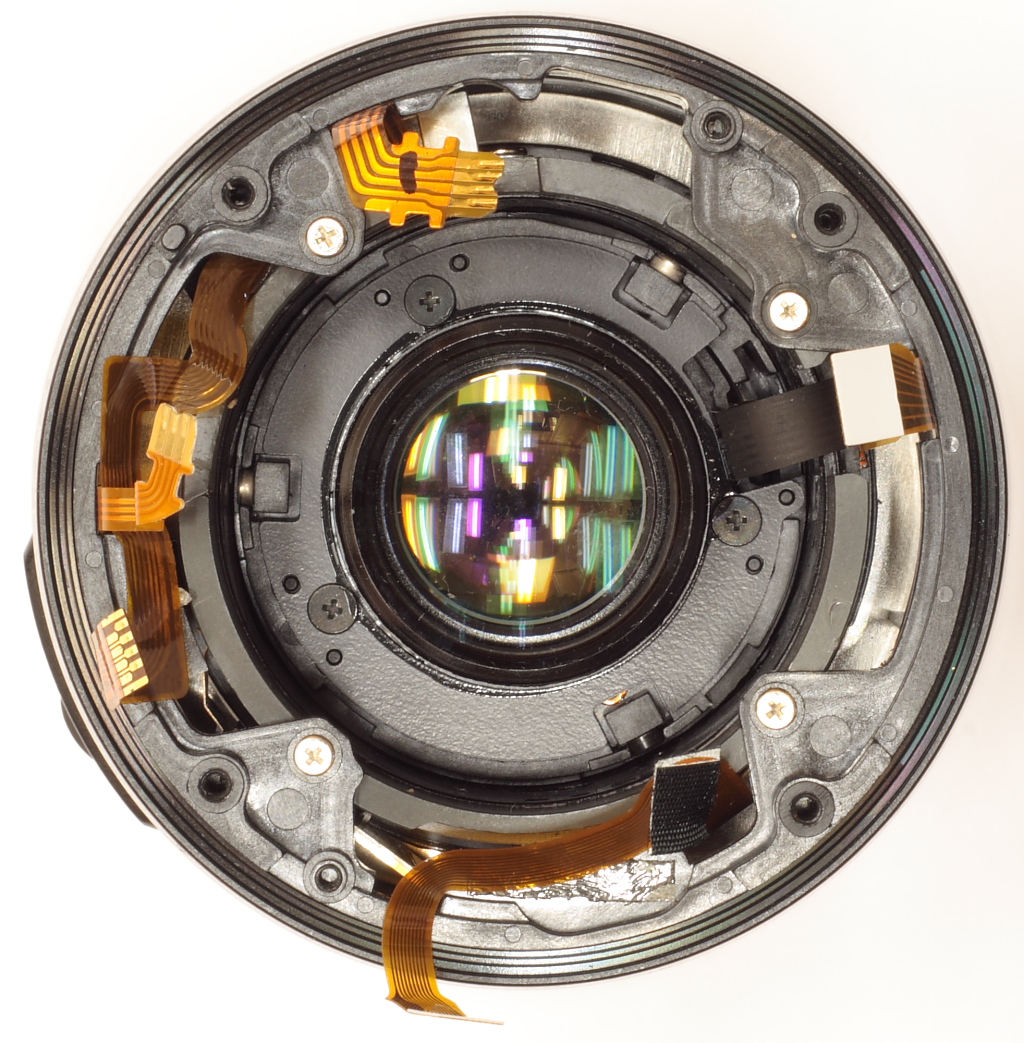
Remove the connector circuit board by removing 2 screws. Some sections of the ribbon cables are anchored with gum. Pull the ribbon cables away carefully.
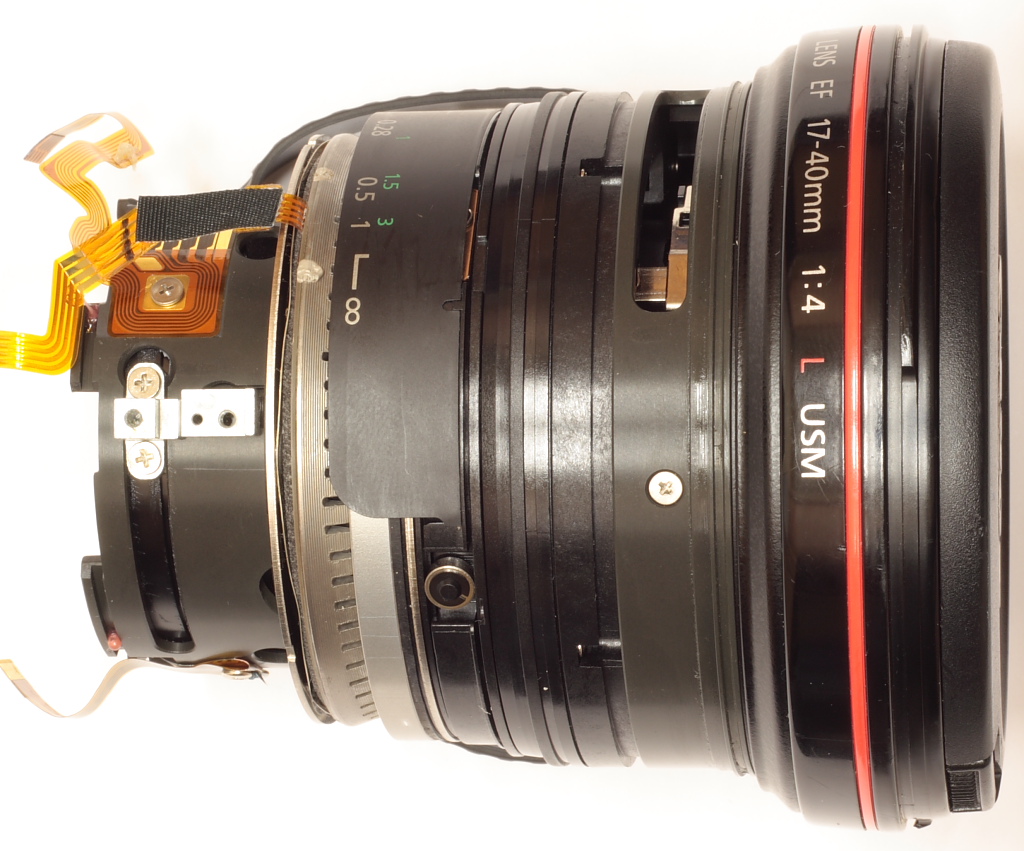
Remove 2 screws from the zoom control. They are under the plastic grip band.
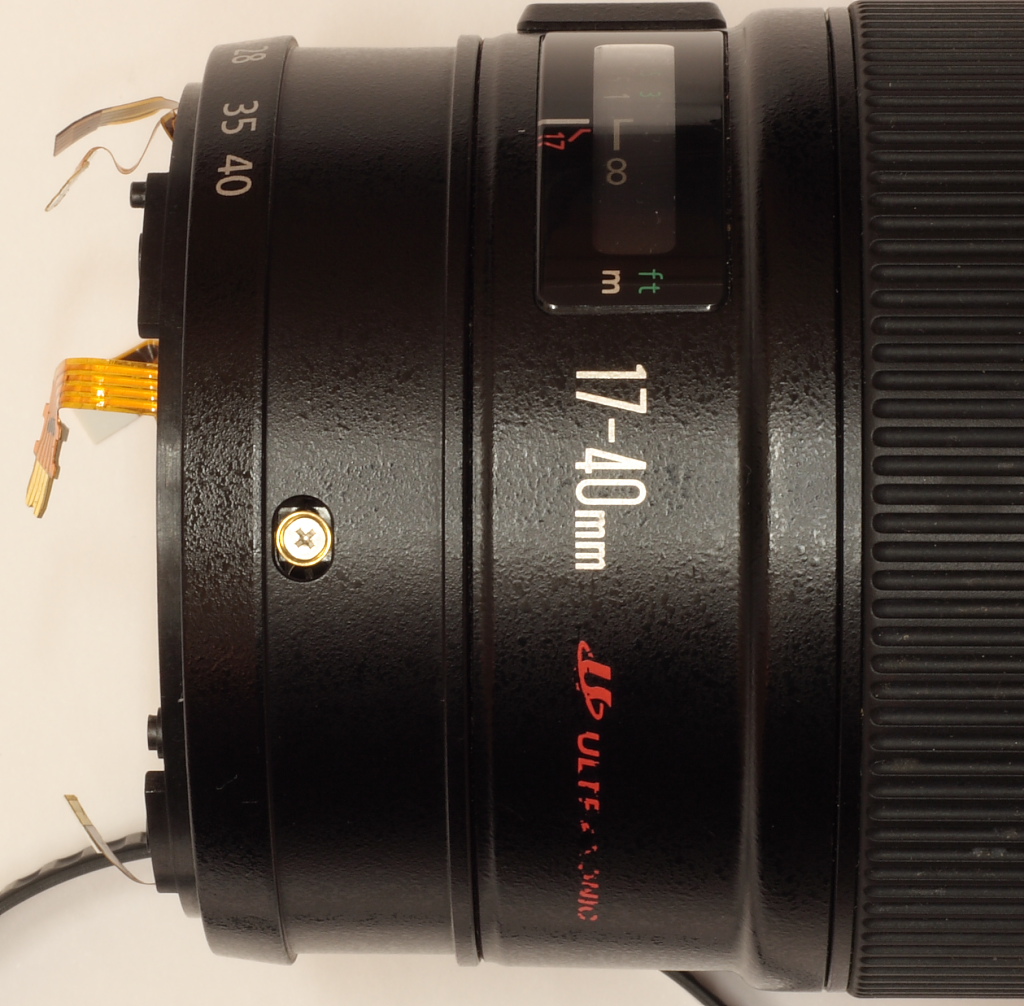
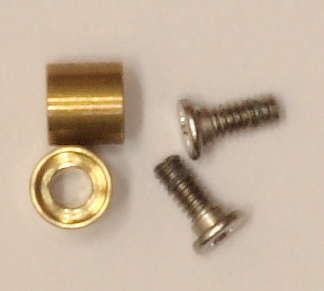
The two screws anchor brass buckets that fit into the zoon ring.
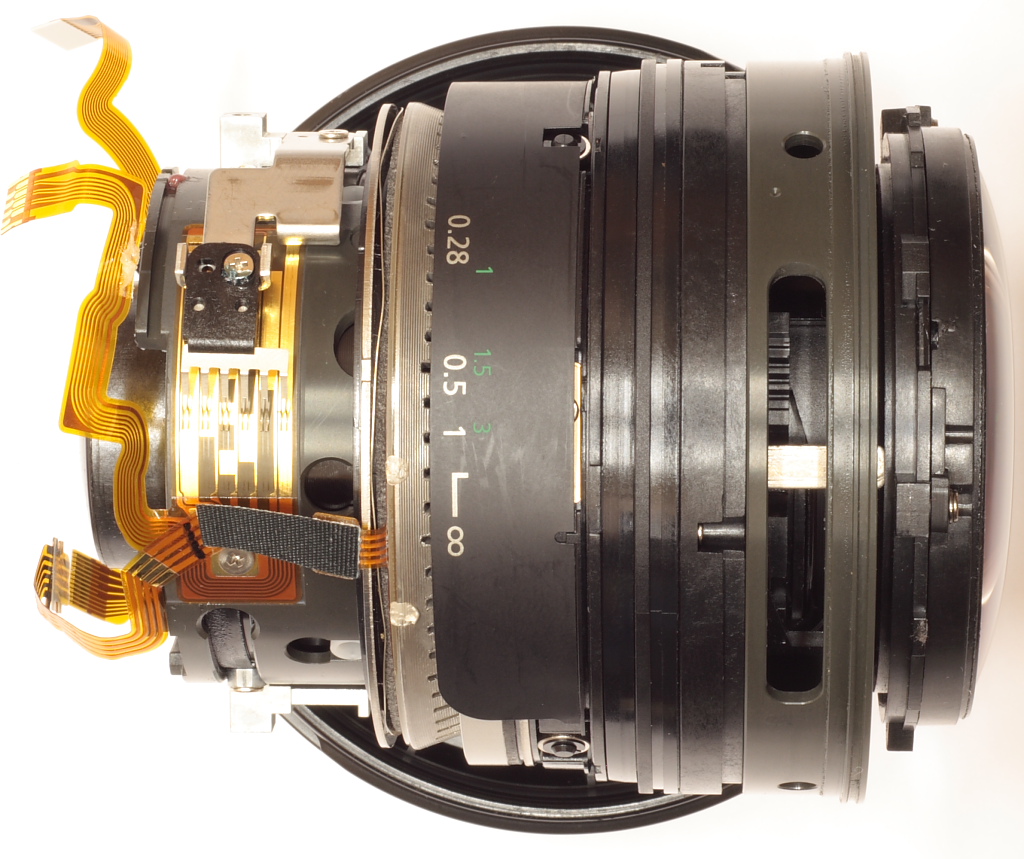
Remove 4 screws holding the outer lens casing.
Lift off the casing. Be careful with the ribbon cables.
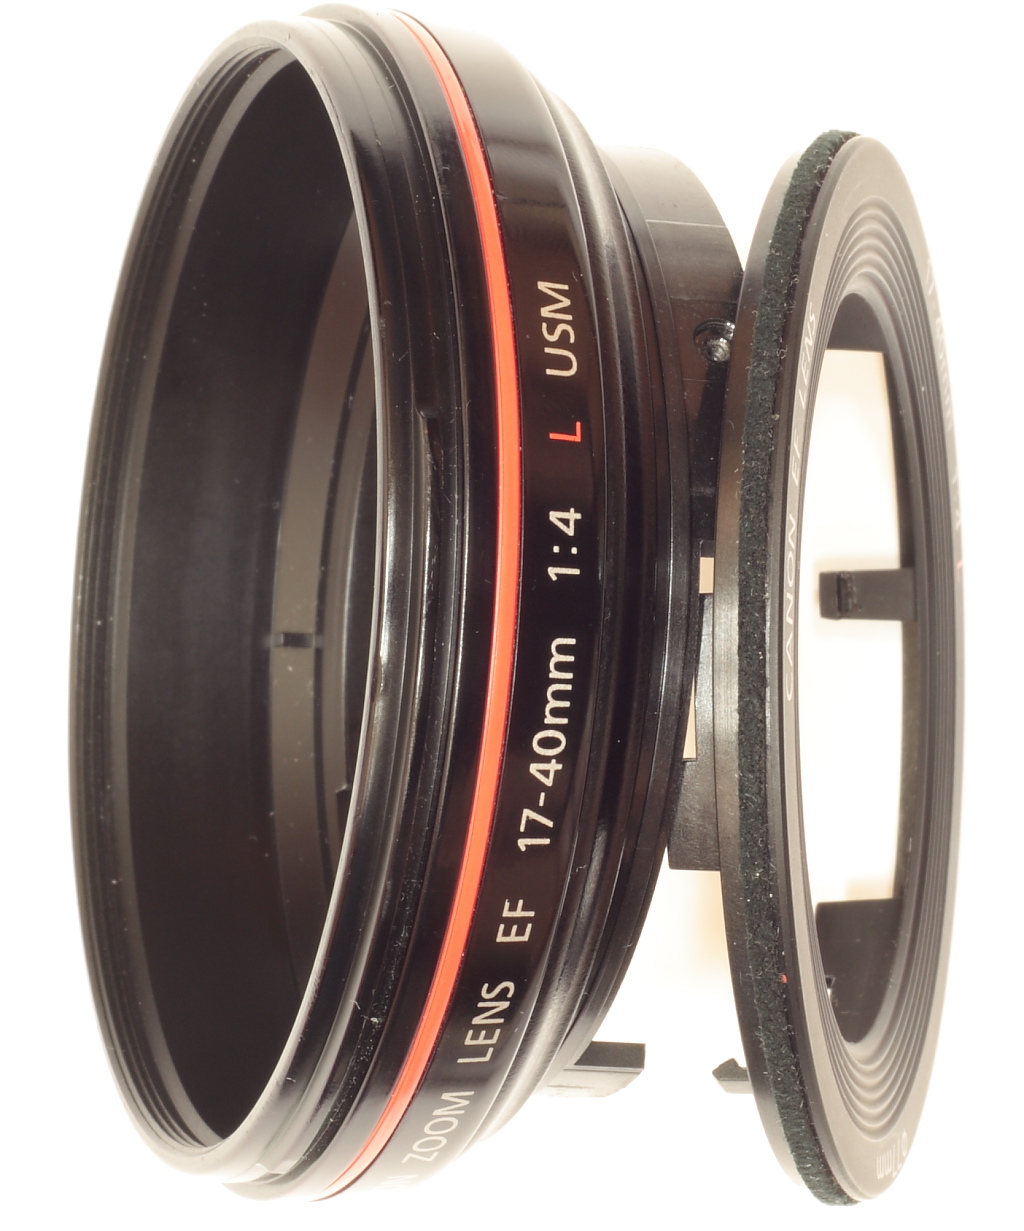
Remove the screws holding the front portion of the lens casing.
Remove the front lens casing. There are two pieces. The smaller piece clips to the front lens element and moves as the lens is zoomed. The outer piece is stationary. The outer edge of the inner part contains a felt seal. The inner part can be snapped in as the very last step of reassembly. It can also be installed in the order removed. Study where the mounting clips seat so that it can be rotated to a position that lets it correctly snap into place.
Now the front element is visible.
Now the front element can be removed. Mine has developed strange spots that disassembly did not allow me to clean.
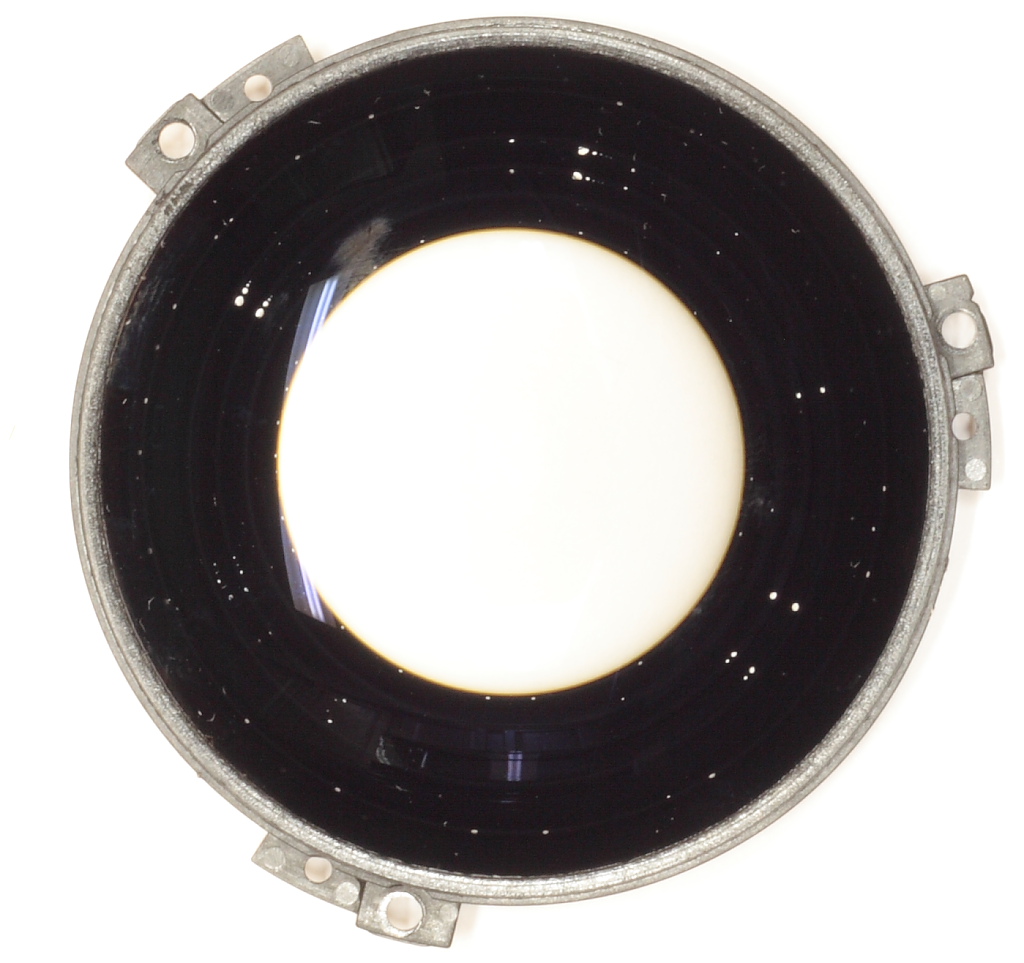
This is only partial disassembly of the lens. My aim was to clean the front element, so I did not disassemble further.